Authentication
Single Sign-On via SAML
Single Sign-On (SSO) is a user authentication method that allows users to log in once and access multiple applications. Security Assertion Markup Language (SAML) is an XML-based standard that enables secure exchange of user authentication and authorization data between parties, particularly in web-based applications, making it a common protocol for implementing SSO
Cloudsmith offers support for Single Sign-On (SSO) at the workspace level using Security Assertion Markup Language (SAML). With SAML, organizations can use their existing SSO provider to manage and control access to their Cloudsmith Workspace account.
Note
📘 About SAML Login
SAML Login is only allowed via your primary workspace. If you try to SAML login into a workspace that is not the primary one, the login will fail. If you can't access your account to set it up as your default workspace, login with username and password to a different workspace, then access to your workspaces section, and set the deafult workspace to your SAML one.
Failed SAML Login
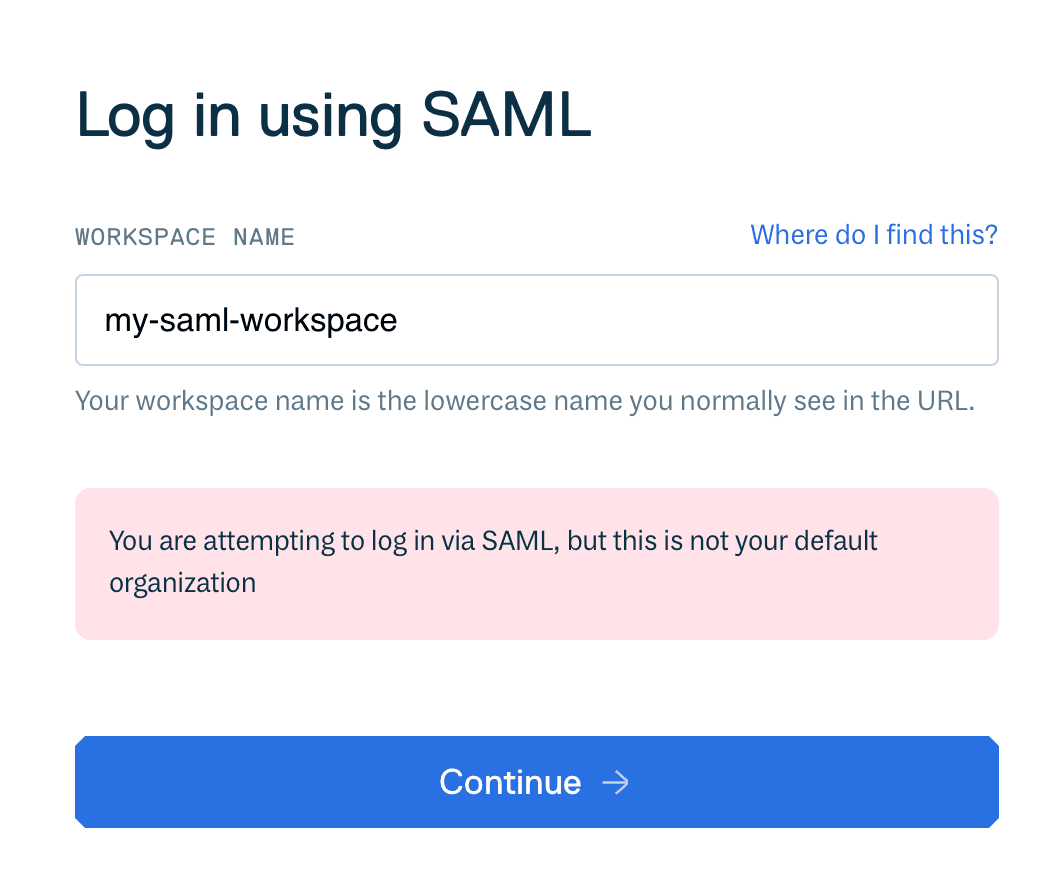
If a user's primary workspace is not the one configured for SAML, their login attempt will fail and they will receive the following error message:

Getting Started
Before configuring SSO with SAML, you'll need:
- A SAML Identity Provider that you can connect with Cloudsmith.
- Manager access to your primary Cloudsmith Workspace.
Supported Providers
Whilst Cloudsmith should work with any generic SAML IdP, we officially support and provide documentation for a number of the most common providers. Please see the below for guides for each officially supported provider:
Other providers may be supported if they can set up a generic SAML application. If you need help with an unlisted integration, you can still contact us.
SAML Landing Page (Login)
Once configured, you'll be able to access the SAML login page of your workspace at the following URL: https://app.cloudsmith.com/WORKSPACE/saml/login/.
Where WORKSPACE is your workspace's slug/identifier (what you would normally see in the URL when accessing your workspace within Cloudsmith).
Enable SAML
Get in touch
To enable SAML, contact Cloudsmith Support.
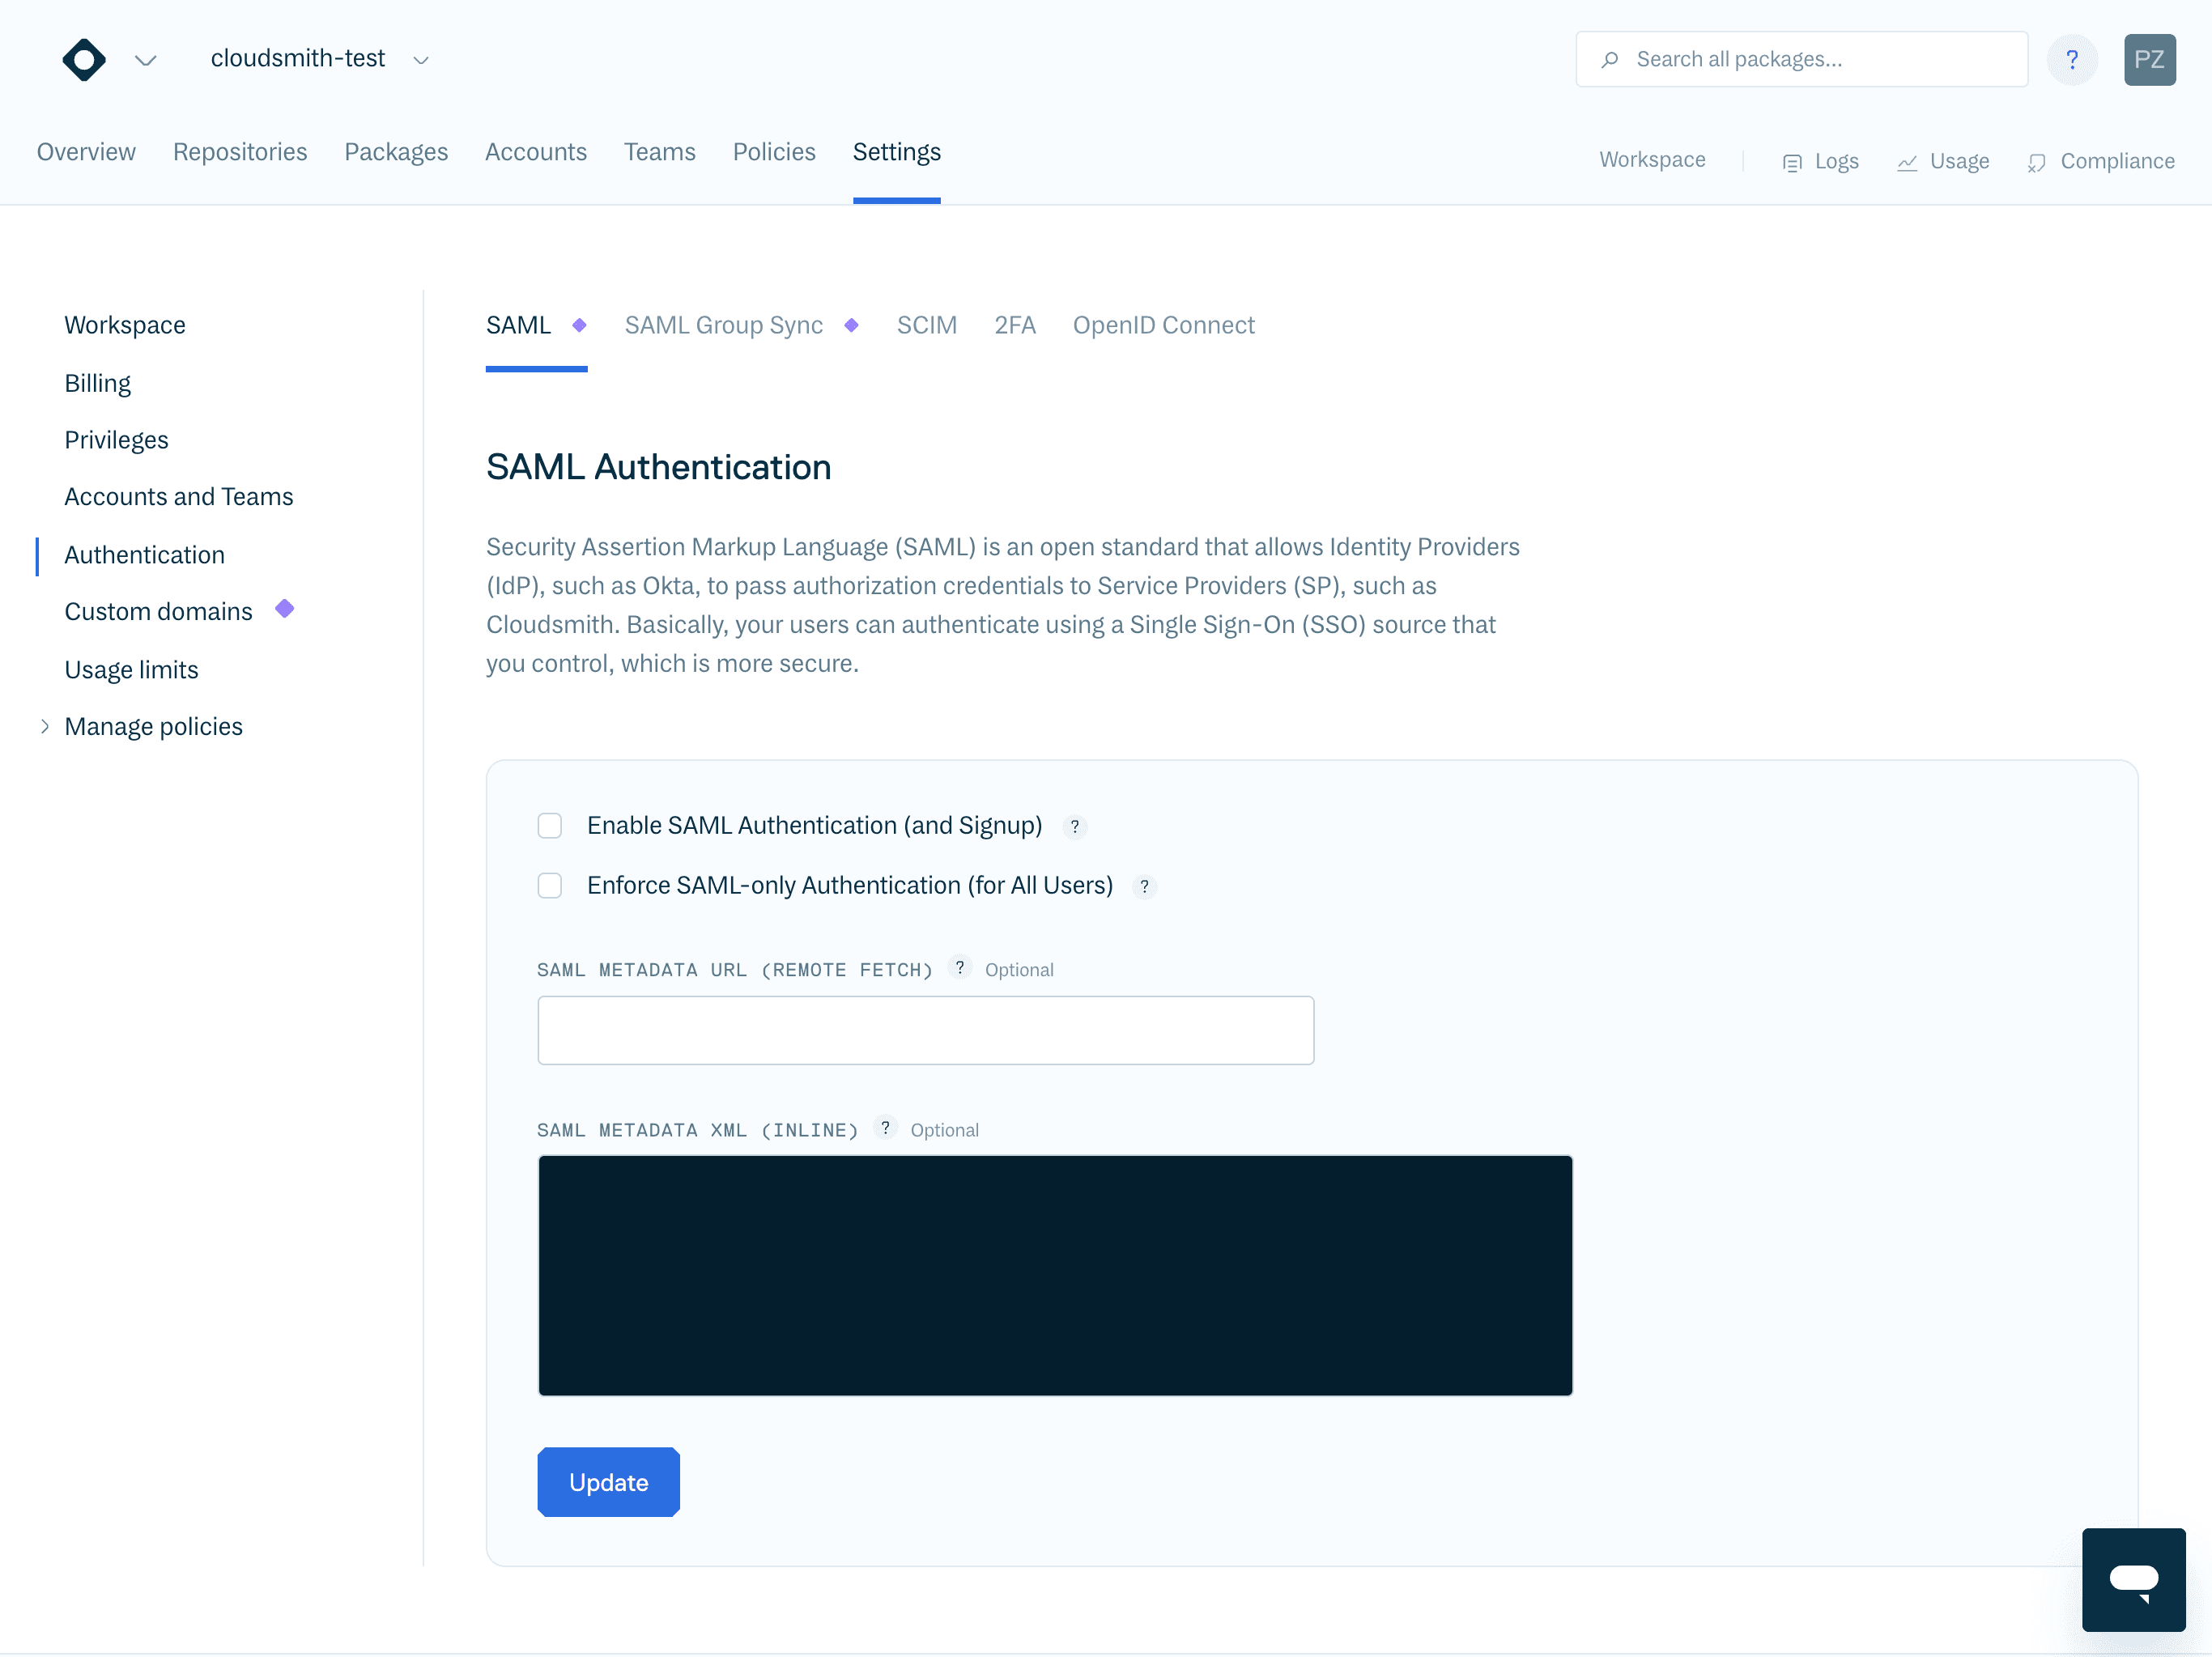
You can enable SAML in your Cloudsmith workspace settings:

You just need to provide your SAML Metadata XML. You can provide the Metadata XML via a URL, or by copy/pasting the Metadata XML from a file directly inline in the form
You can then enable SAML and optionally choose if you wish to enforce SAML-only authentication.
If you choose to enforce SAML-only authentication all users that belong to this org will be forced to authenticate via SAML-only, in order to access Cloudsmith. They will not be able to use password-based authentication or other social auth providers. This is more secure, but use caution to prevent lockouts.
SAML Group Sync
Use SAML group sync to assign users with specific roles to existing Cloudsmith teams, based on the users’ group assignment in your selected identity provider (IdP). With SAML group sync you can create a many-to-many mapping between SAML IdP groups and your teams in Cloudsmith.
Note
SAML group sync does not create groups. You have to first create a group, then create the mapping. Please do not enable SAML Group Sync before creating your group mappings, as SAML Group Sync will remove any users from a team if there is no corresponding group mapping present.
SAML Group Sync is used to use map an attribute from your Identity Provider to a team in your Cloudsmith Workspace. This allows you to add users automatically to the team.
For example, if the user @paul is assigned to the design team in the SAML IdP, you can use our SAML group sync to assign @paul to the design team (and then assign to him any roles assigned to this group).
Creating a Group Mapping
You first need to create mappings that will define which attributes and values will map to the respective teams in your Cloudsmith Workspace.
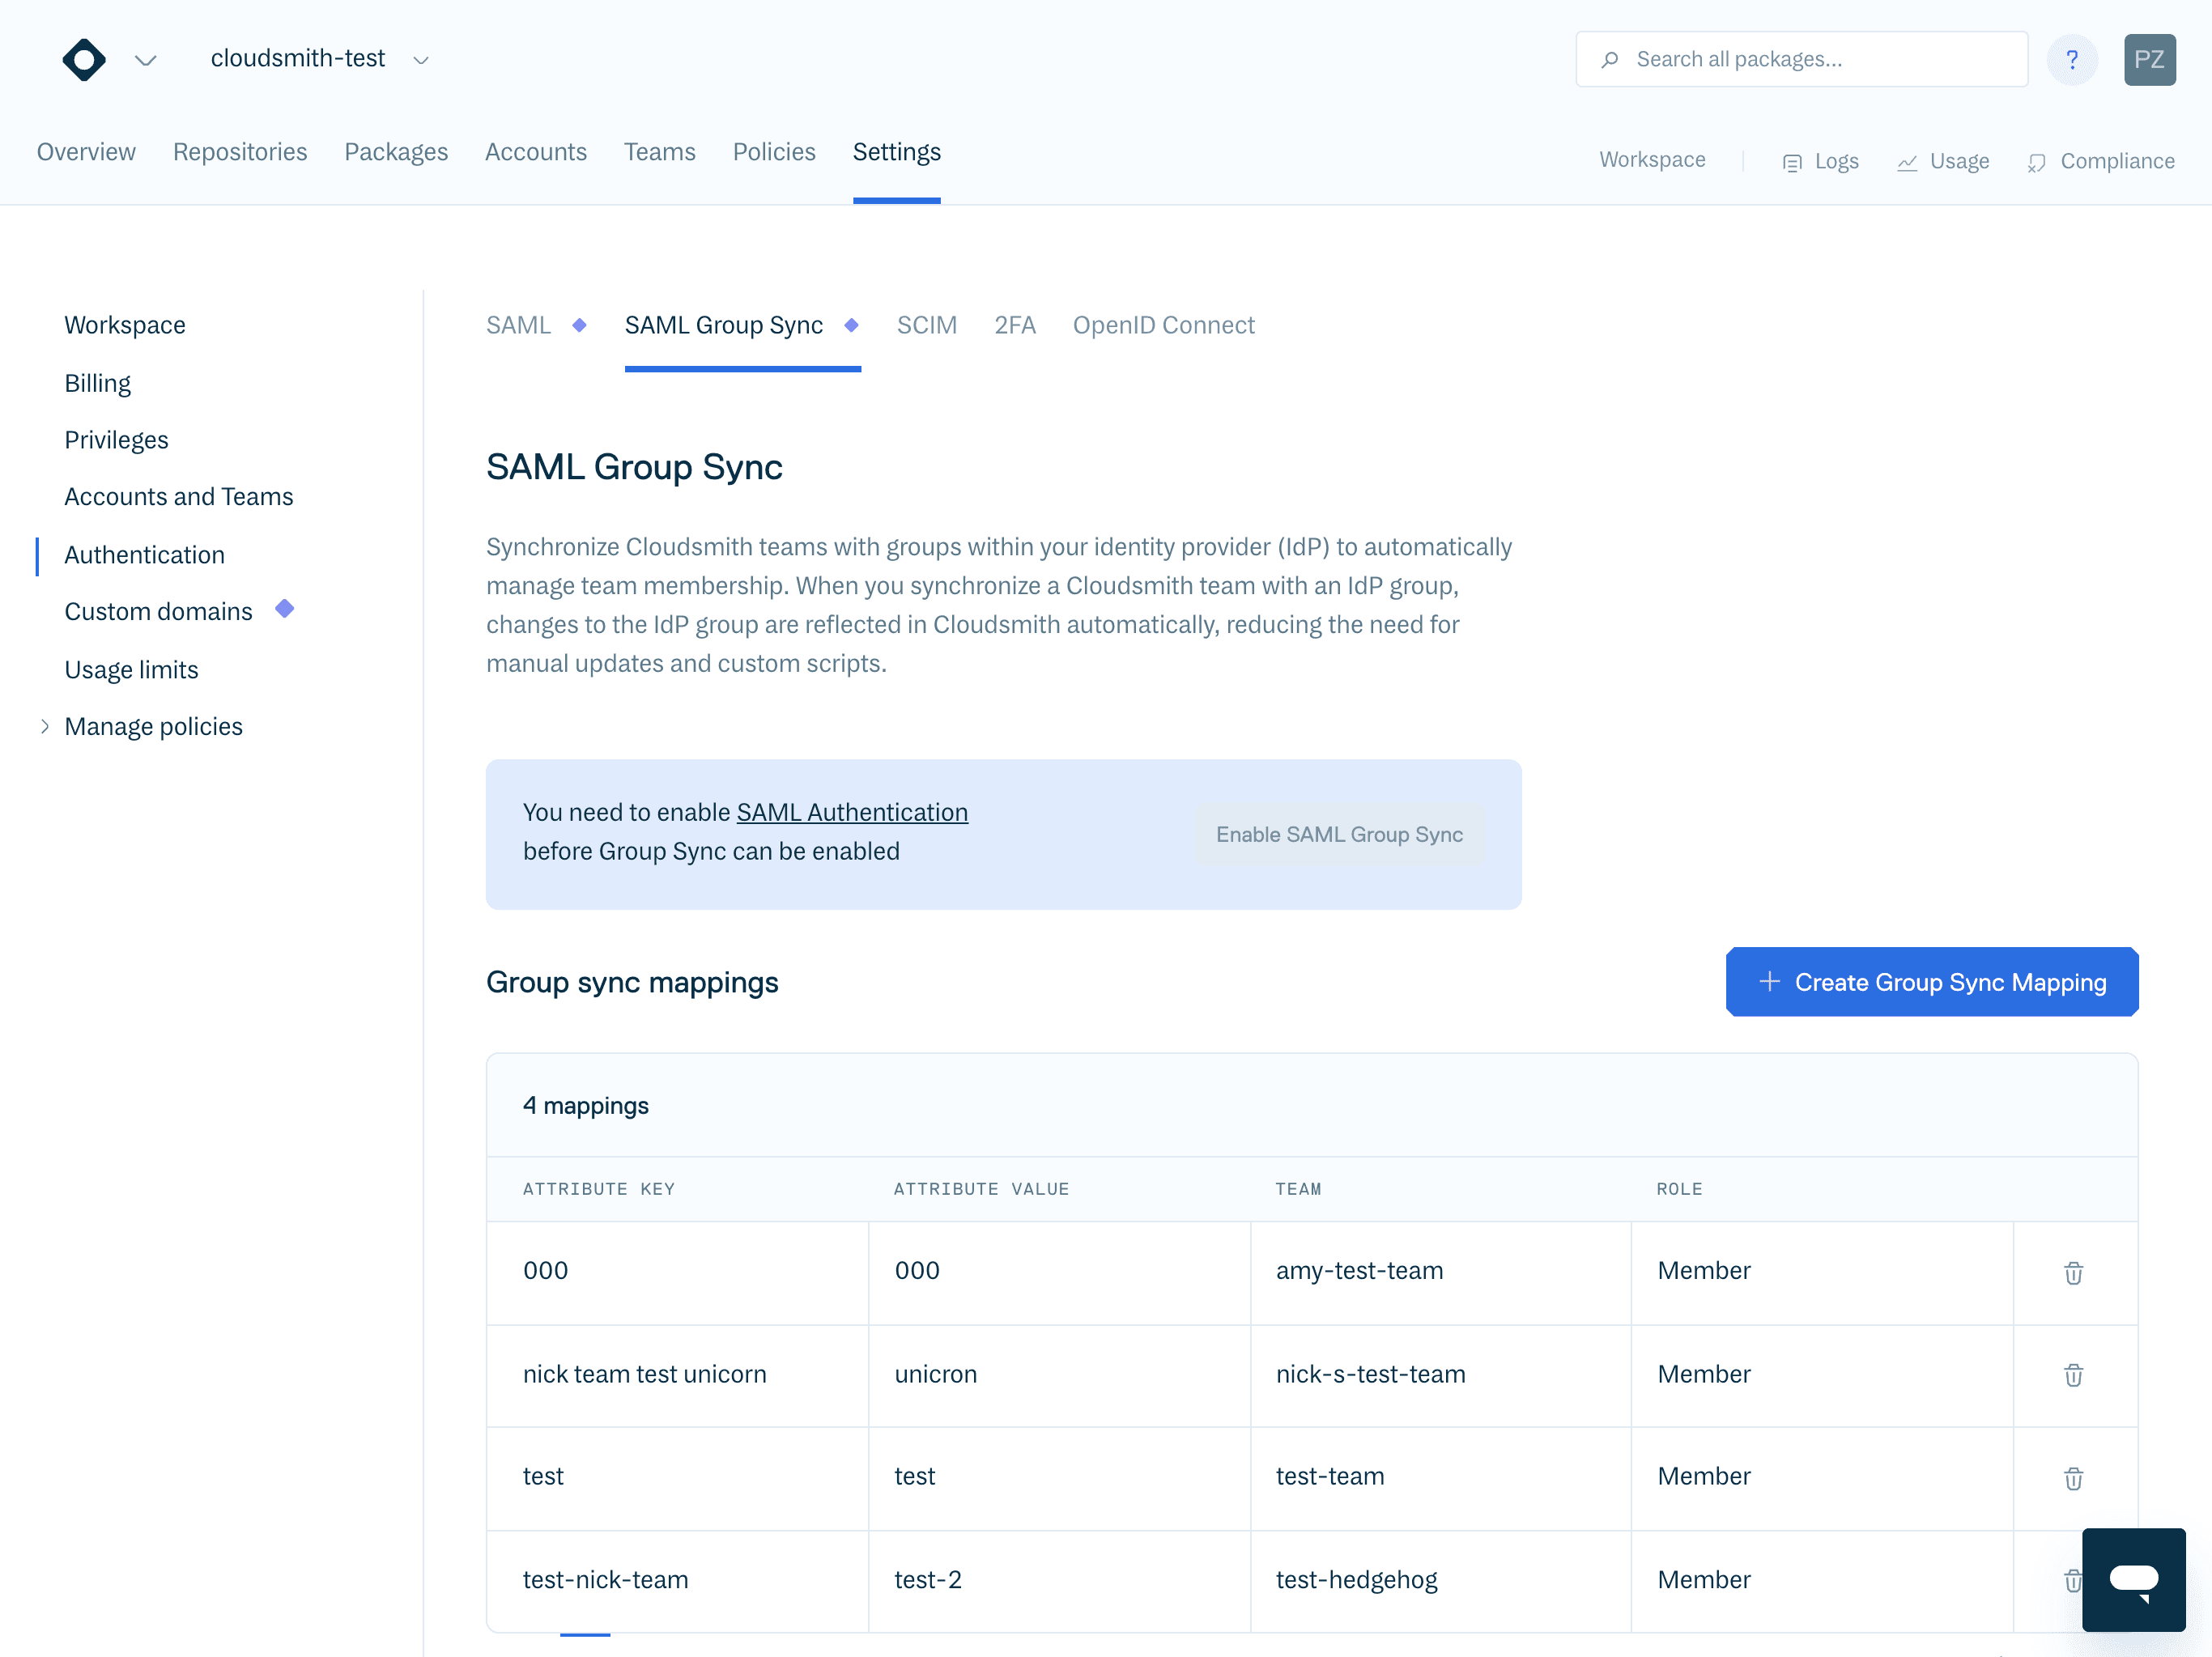
To configure a new mapping, click the "Create Group Sync Mapping" button under "SAML Group Sync":

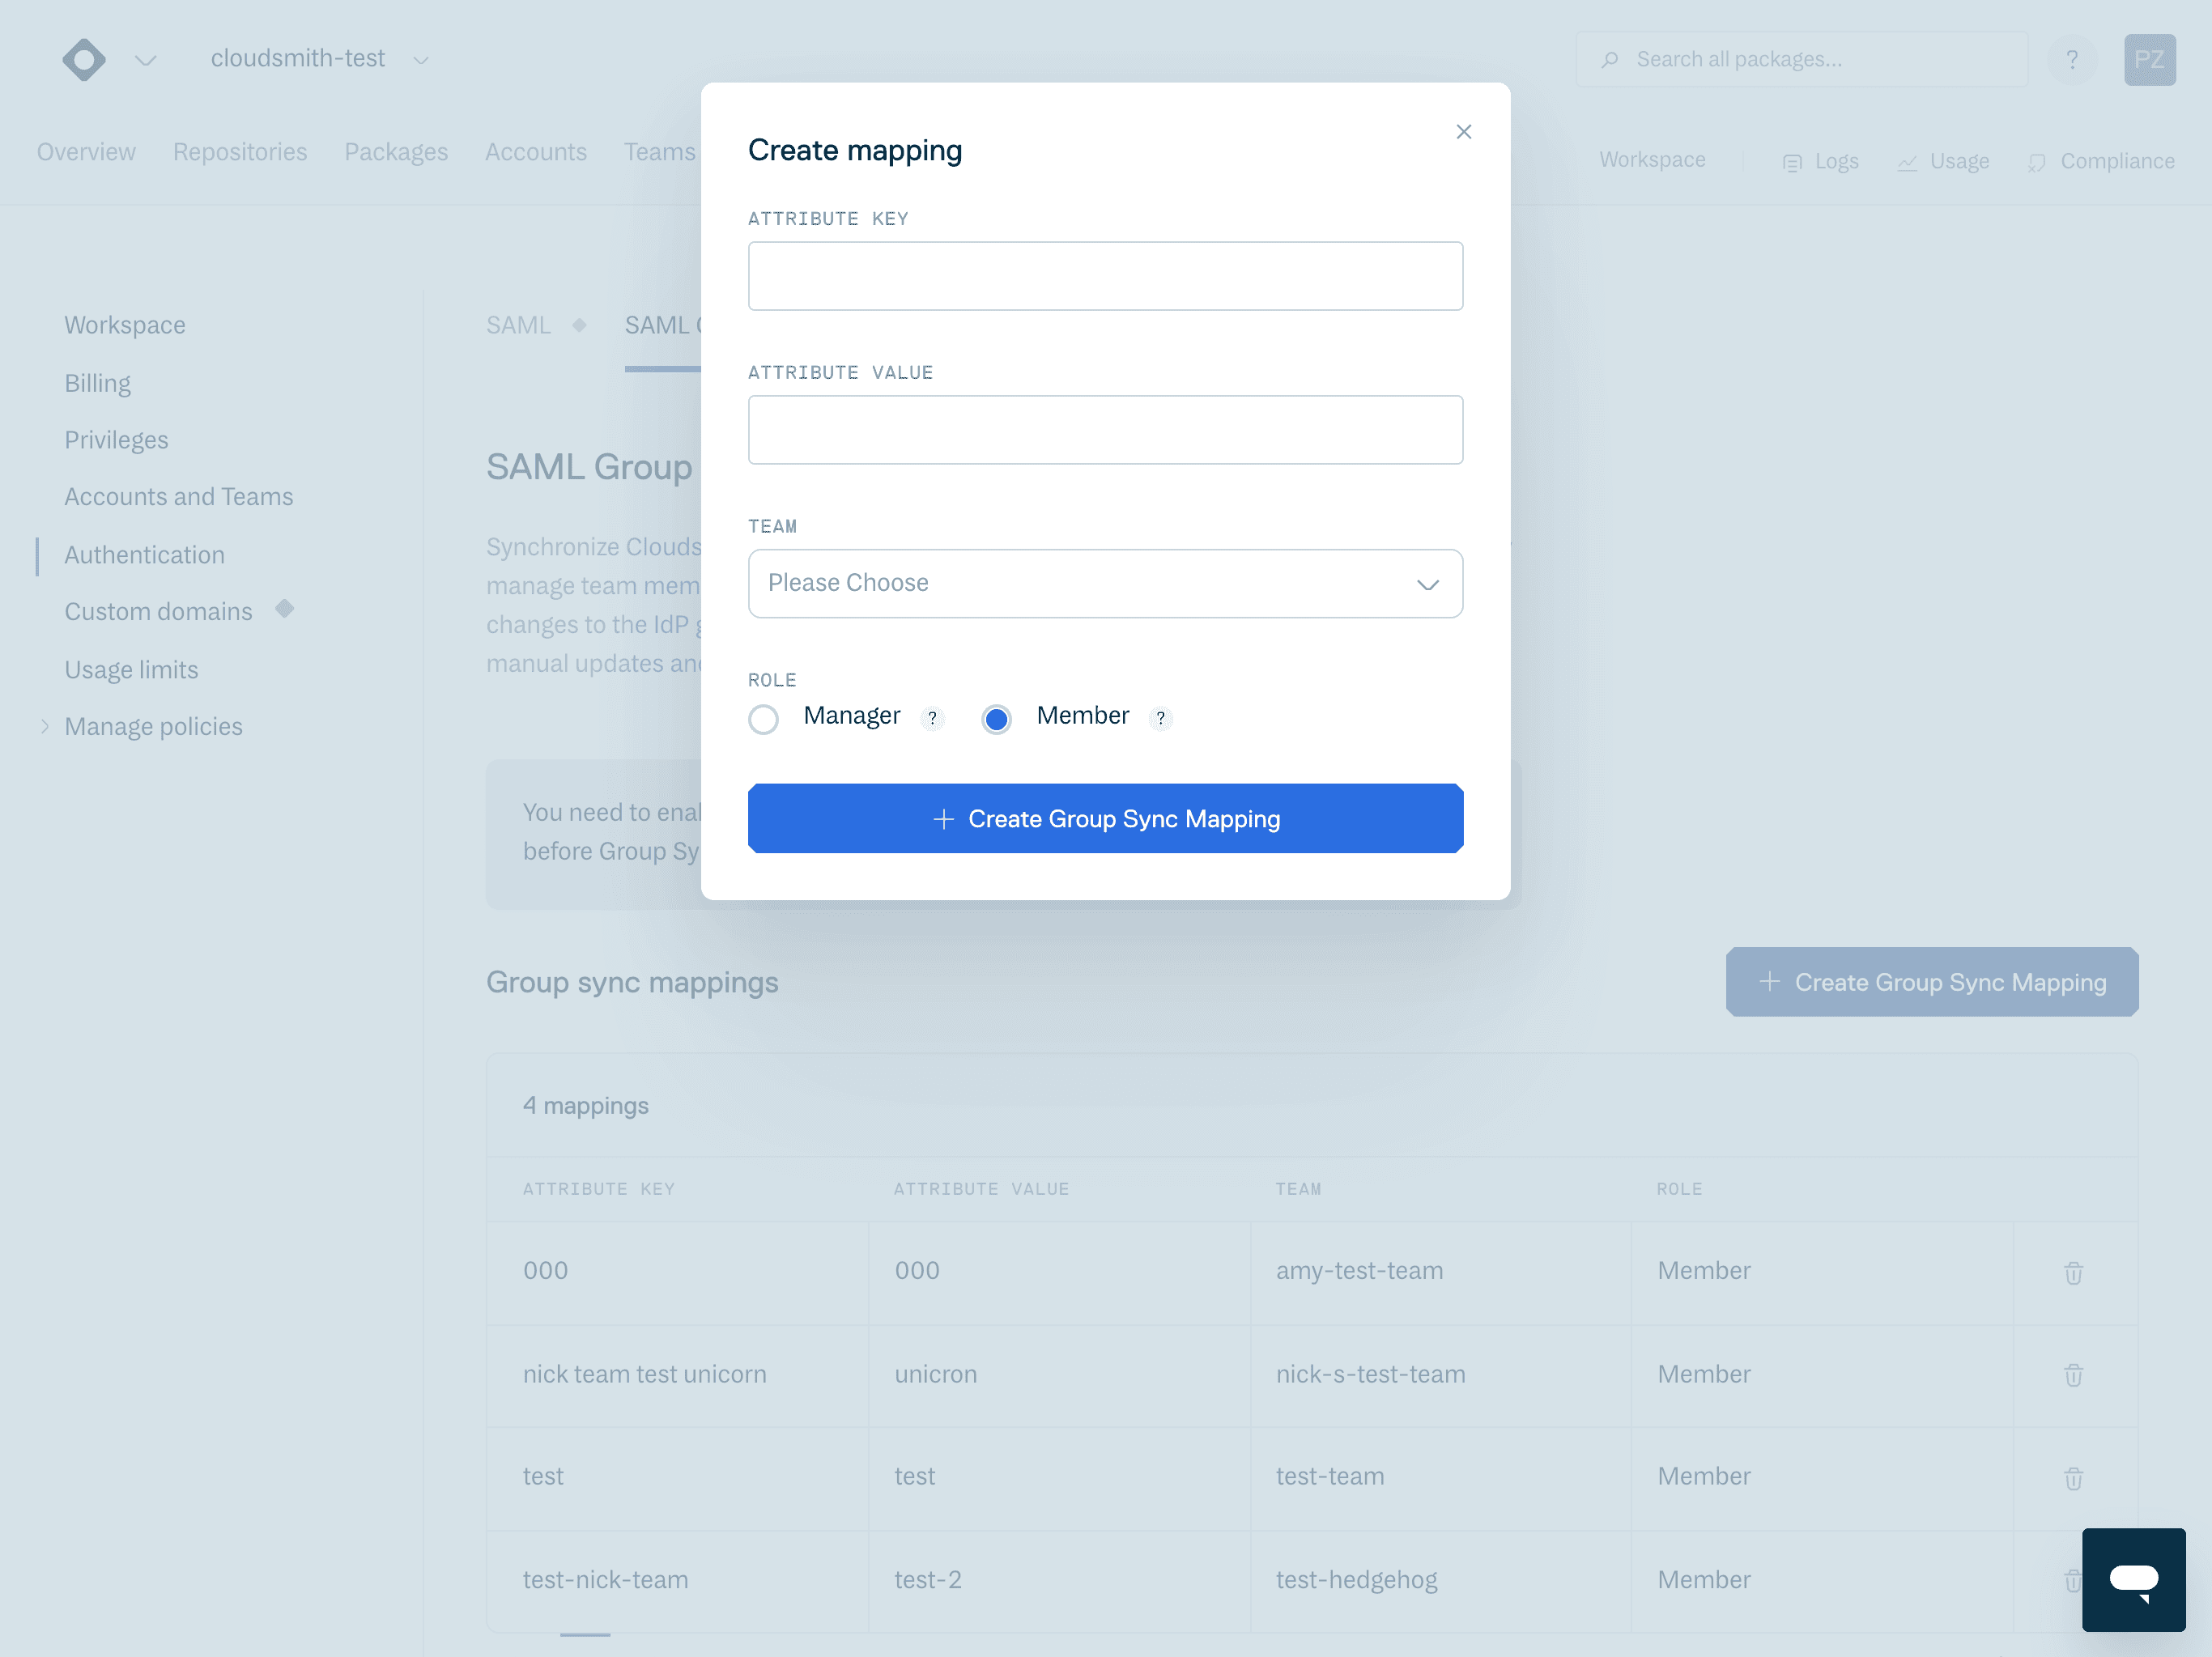
You are then presented with the "Create Mapping" form:

Here you can define the following:
| Field | Description |
|---|---|
| Attribute Key | The Attribute name from your Identity Provider that you use to define groups |
| Attribute Value | The name of the group from your Identity Provider |
| Team | The team in your Cloudsmith Workspace that you want this group mapped to |
| Role | The role will be granted within the Team |
Once you have configured your mappings and verified the values are correct, you can then enable the mapping functionality by clicking Enable SAML Group Sync.